In the 1800s, whether on the prairie or in the kitchen at the homestead, there was one thing that kept Wyoming fed, and that’s cast iron cookware. It’s versatile, durable and easier to use than you might think.
And it’s just as useful today as it was on the windswept prairie more than a century ago.
A brief history of cast iron
The first known use of cast iron cookware was during the Han Dynasty in China, around 220 A.D. It became popular in Europe by the 16th century and its popularity spread worldwide from there.
In 1707 a sand casting method was developed that was similar to the way modern cast iron is made now. This manufacturing technique in 18th and 19th centuries lead to an explosion in cast iron’s use. Cast iron cookware was so important to daily life that in his book, “The Wealth of Nations,” Adam Smith wrote that cast iron cooking pots were worth more than gold.
There’s nothing more cowboy than cast iron cooking. You can fry in it, sear in it, stew in it, bake in it, you name it — as demonstrated by the recipe at the end of this article. An important property of cast iron is its ability to retain heat. When you sear a nice steak in a cast iron skillet, the heat isn’t instantly sucked away, like thinner stainless steel or aluminum pans. Meat will continue to brown longer and create the flavorful layer we all love.
In the 1960s, cast iron fell out of favor and most cooks replaced it with stainless steel and aluminum nonstick cookware. Serious chefs and home foodies still prefer the tried and tested cast iron skillet. For the inexperienced cook though, it can be a mystery to use and an even bigger one to maintain. However, this doesn’t have to be case. Let’s demystify the alchemy that is cast iron.
Preparing or “seasoning” cast iron
Preparation is important to getting your new skillet working like you want. Brand new cast iron are great right out of the store, but can be seasoned even more, to improve performance. Seasoning in this case has nothing to do with salt and pepper. Seasoning is the coating that protects the pan from rust and gives it its nonstick properties. This is a thin layer of carbon that is baked into the surface.
To add more seasoning to brand new cookware, use a paper towel to evenly coat the entire surface with a very thin layer vegetable oil, making sure to cover the top, bottom and handle,
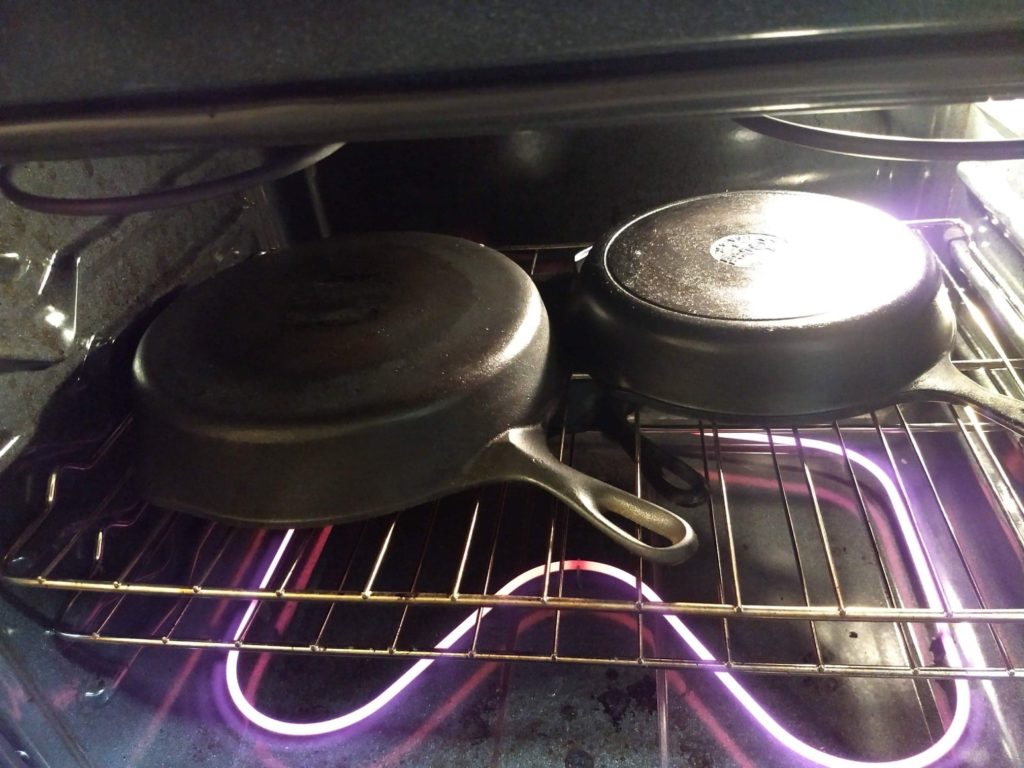
Place the cookware upside down in a 350°f oven for one hour and then allow to cool in the oven. This turns the oil into a carbonized nonstick coating that’s as hard as diamonds. You can repeat this process a couple more times for an even thicker nonstick surface.
Restoring and re-seasoning vintage cast iron
Do you have old cast iron pieces hanging in your kitchen that haven’t been used since grandma fried her last chicken? Get them down and put them to use! In some cases, grandma might seem to be lacking in how she cleaned her skillet, but trust me, she knew what she was doing. I’ll share with you a skillet that my mother passed down to me.
This skillet fried more chicken than KFC, and slow cooked more pot roast than Rival’s crockpots! As you can see, the skillet has so much built up, burnt on, crud that you can’t read the stampings on the bottom. There was even a fair bit on the inside walls. This had literally not been removed since I chewed my first chicken leg.


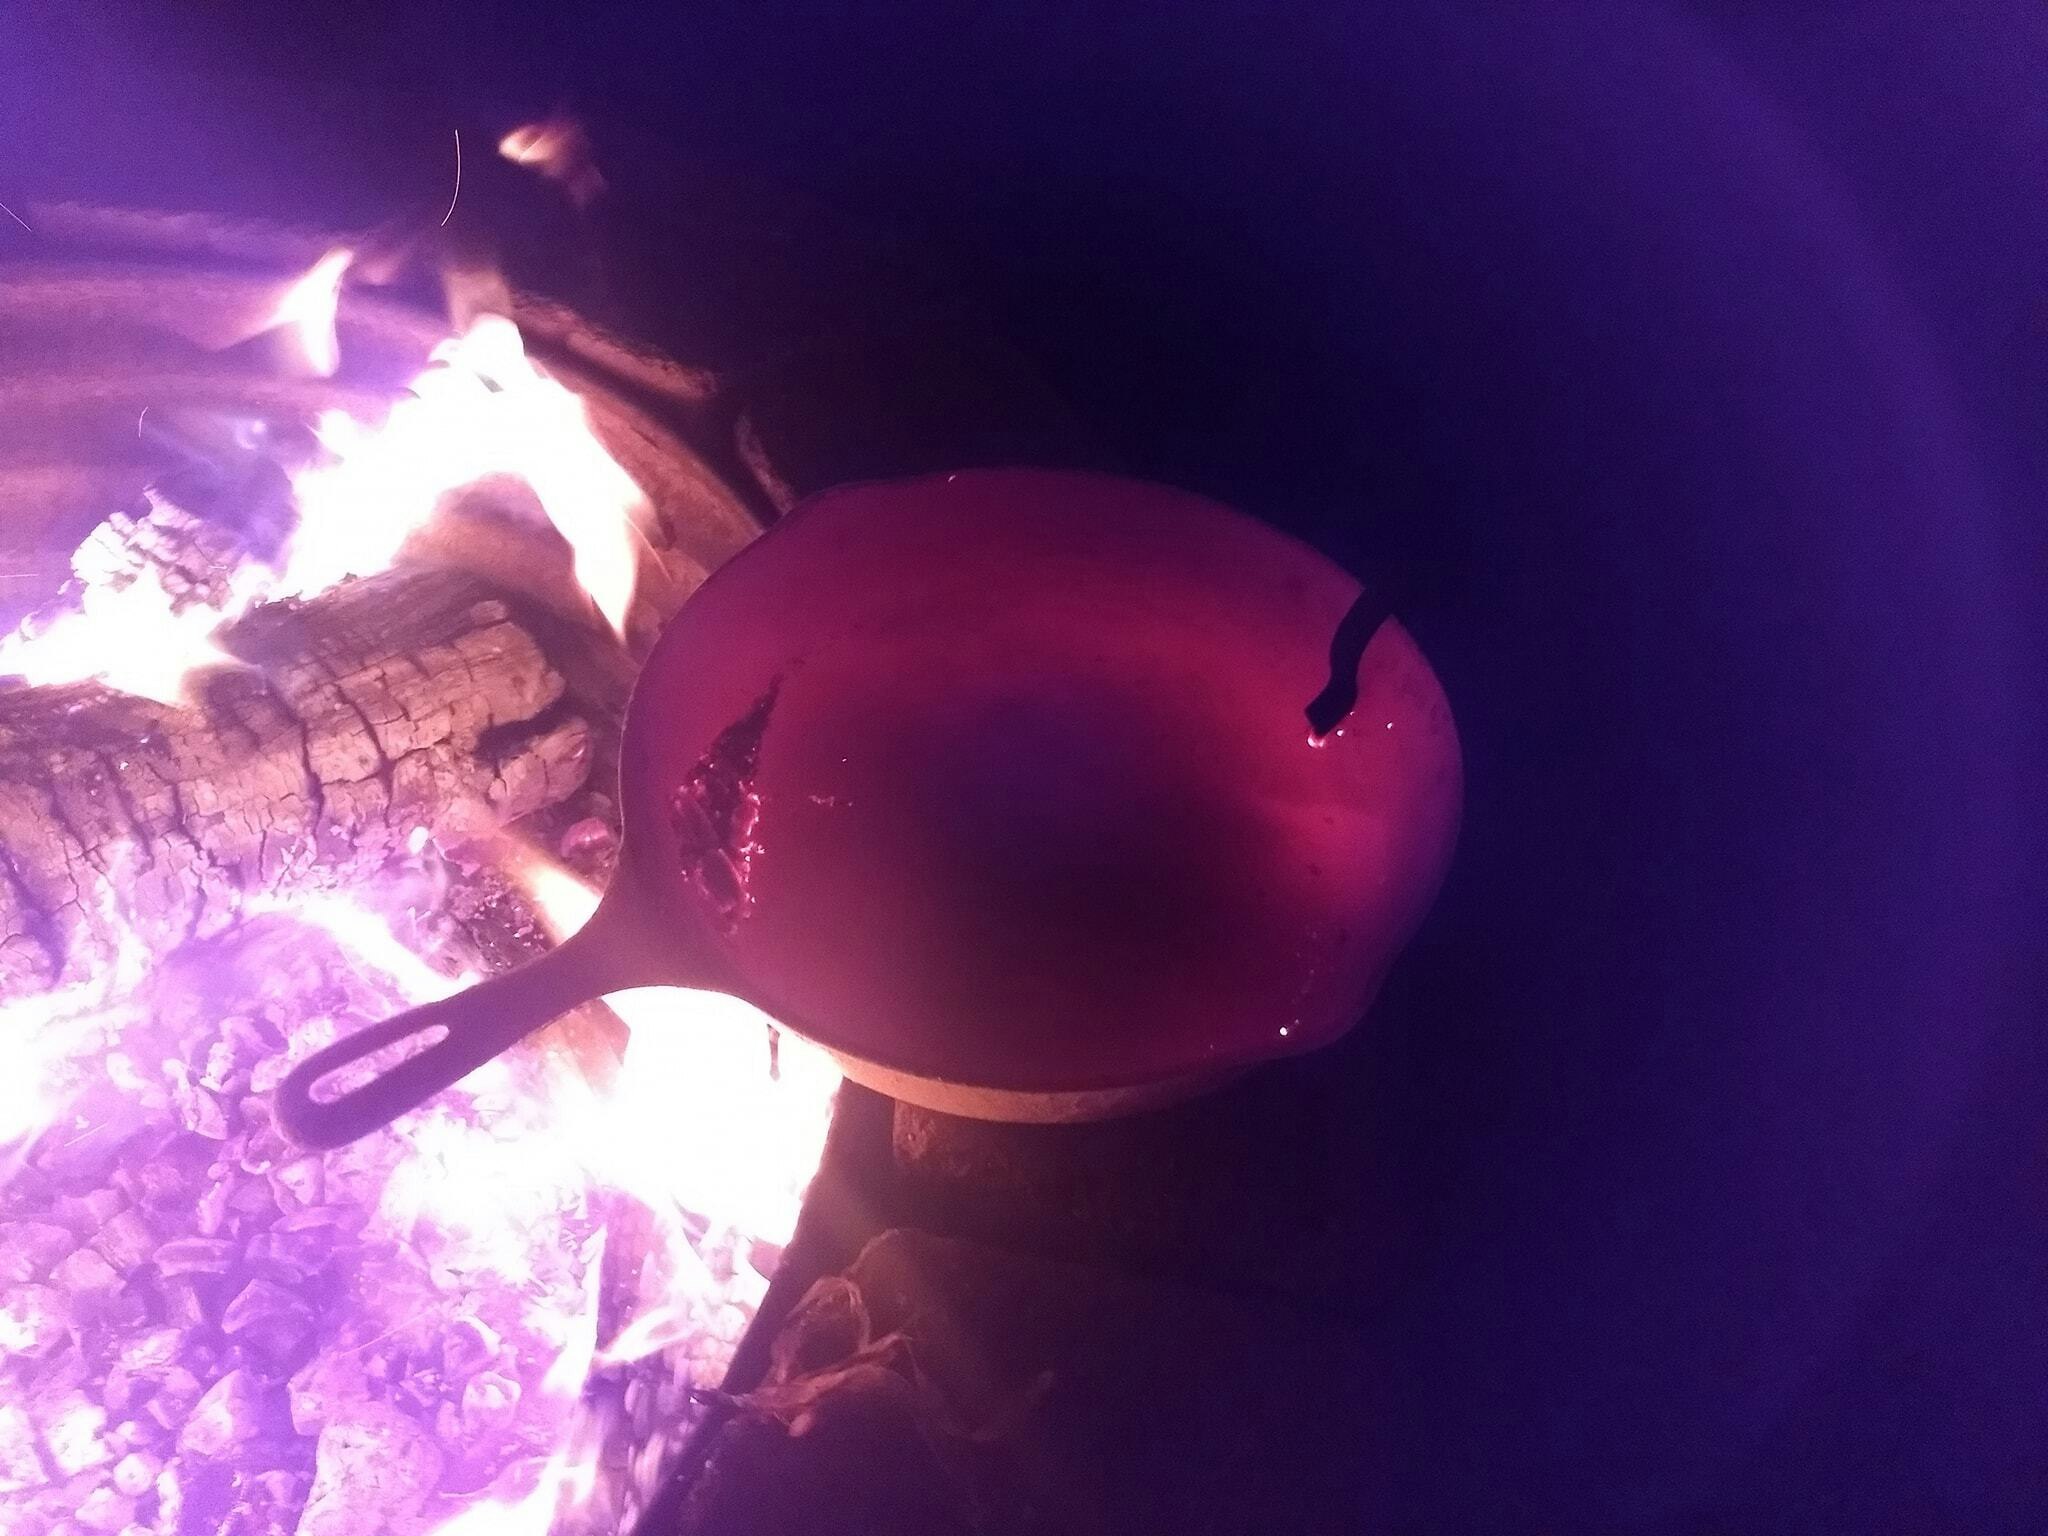
The way I like to get rid of the old cooking scale and start over again with a brand new seasoned surface is to put the cookware directly into a campfire. Cover it with hot coals, and get it get glowing hot. Once the metal is red hot, take it out and set it aside to cool slowly. Do NOT let it get above a nice red glow! Most importantly, DO NOT quench it in water, or it will crack and or shatter! Just let it cool slowly.


Once cooled, all that old scale will be turned to ash and it can be easily removed with steel wool or a soft wire brush. Any slight rust that forms on the uncoated cast iron will be removed in the scrubbing process.


Scrub your cast iron with soap-less steel wool until clean and rust free. Dry it quickly and place on the stove top, or in the oven, for about 5 minutes or enough that the moisture in the metal is dried completely. Allow it to cool enough to handle, and apply a thin coating of cooking oil with a paper towel.
Time to make it new again. Using the seasoning process for new cast iron described above, complete at least three cycles of oiling and heating. Four to five cycles would be better. This doesn’t have to be done all at once. If you are using your oven anyway, take the time to add a layer of seasoning, until you have fully built up the seasoning layer. Now you can now enjoy your vintage, yet brand new cookware for years to come.


Cooking with cast iron:
Unlike modern nonstick cookware, cooking with cast iron takes a little patience. It’s a lot like cooking on stainless steel in that you need to wait until the food you are cooking caramelizes, or browns, before turning. If you try to turn your food too soon, it will stick.
On high heat, 30 seconds to a minute should be enough time for the food to brown and release from the pan. This searing process also imparts flavors to meat that you just can’t get any other way.
Avoid using metal utensils with cast iron. Tongs are fine for turning, but you don’t want to scrape at the bottom of you newly acquired seasoned surface. Wood or nylon work wonderfully and protect that valuable layer.
Another way to damage your cast iron cookware’s surface, is to cook foods that are high in acid, like tomato sauce. While it won’t ruin your cast iron, the acid in tomatoes can eat away at the iron and you could be forced to start over with the seasoning process. This would be a problem for tomato sauces that are cooked for hours. Feel free to use them in normal cooking. Other than those tips, cast iron will be the best performing, longest lasting cookware you’ll ever use.
Cleaning cast iron: I know what you are saying. “But, how do you clean this stuff?” There are a couple of sure fire ways to cleaning and one that I’m not sold on. The easiest way to clean your skillet is to scrub it with a stiff bristle brush and hot water. “Can I use soap?” Nope! Avoid using soap, because like other cookware, you actually want a thin layer of oil left behind. Next time you hear your skillet, it will add to the seasoning layer.
My favorite way to clean my mom’s cast iron buddy is to use salt. Just wipe out whatever you can with a paper towel, and then use about a quarter cup of salt, or as little as a couple of table spoons. Dump in the salt and scrub with a dish towel. The salt removes any residue, without being too abrasive. Just dump the salt in the trash and then rinse and wipe dry.
There are specialized tools for cleaning, like a small square of what looks like medieval chainmail. I think these are too abrasive and actually damage the seasoning layer, and besides, salt is cheap.
After cleaning and drying your cast iron cookware, put a small amount of cooking oil on it and wipe it around with a paper towel. You just want the thinnest of coats though. Now put it away until next time. It’s that simple.
Take your cast iron on a road trip!
Do you like camping? Got a Dutch oven and don’t know what to do with it? Make sure it’s been properly seasoned and take it to the woods. The Dutch oven is probably the most versatile piece of cast iron ever. You can fry in it like a skillet, use it like a cooking pot or as the name implies, bake in it.
The three legs of the Dutch oven allow it to sit over your coals, giving heat from below, while the flat lid allows hot coals to be placed on top, giving heat from above. The number of coals placed under it, and on top will determine the temperature you are cooking at. There are many cookbooks that deal only with Dutch oven cooking.
Don’t let your vintage cast iron hang on the wall collecting dust. It’s waiting for you to put it back on the heat where it belongs. Try out this simple Dutch oven recipe, to get you going on your cast iron adventure.

Dutch Oven Peach Cobbler
To create a 350 degree oven environment, place 14-20 coals on top, and 7-12 coals on bottom. Replace as needed.
Ingredients:
1 1/2 cups self-rising flour 1 stick butter
1/2 cup water 1 cup of brown sugar
3 cans of sliced peaches 1 1/2 cups milk
2 tsp ground cinnamon
In a bowl, mix your peaches with the cup of sugar. (This can be done at home ahead of time and placed in a container, ready to go.) Now melt the butter in your Dutch oven.
In a separate bowl, mix the flour and milk slowly to prevent clumping. Pour mixture over melted butter. Do not stir. Spoon fruit on top, gently pouring in syrup from the can.
Sprinkle top with ground cinnamon. Batter will rise to top during baking. Bake until batter is browned and cooked through. Approximately 30 to 45 minutes.

Tip: Lining the Dutch oven with foil or parchment will allow you to lift it out making serving easier.